Courses
Add a Course
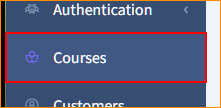
Navigate to the courses page using the menu on the left.
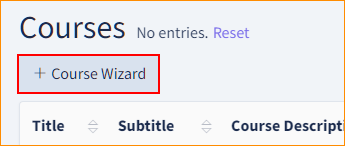
Click on Course Wizard.
Drag and drop your pdf containing the course material from the computer to the file upload area or click on the browse button to search for it on your computer.


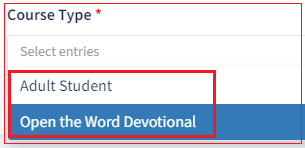
Select the Course Type. Keep in mind that only one course type should be selected for the time being. The default selection for the course type is Adult Student. If you are uploading an adult student course, you won’t need to change this field.

If you are uploading something else, such as a devotional, you can remove a course type by clicking the small “x” next to the course type’s name.

Then you can select the appropriate course type from the dropdown list.
Click Upload and Preview to continue.
Once the course has been uploaded, you will need to fill out the information for each field in the course overview. The Title is what will be displayed in the mobile app. The Subtitle should be labeled Adult, Youth, etc. The Descriptor is a lesson or devotional.

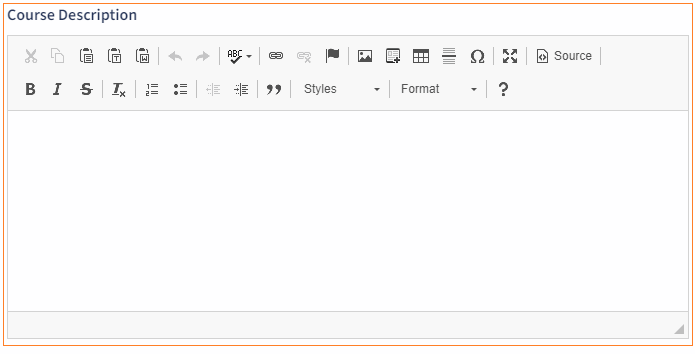
The Course Description is what will be displayed in the mobile app.
The Year is what year the course begins in.
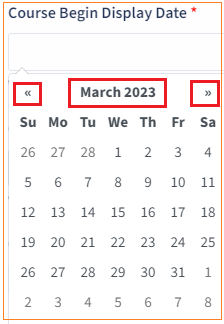
The Course Begin Display Date is when the material will become visible in the mobile app, and the Course End Display Date is when the material will stop being visible in the mobile app.
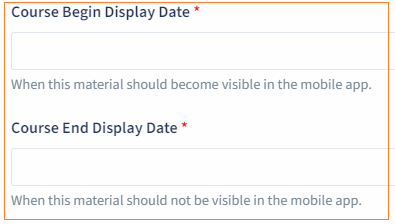
If you click on the text field for either Display Date, a small calendar will pop up where you can select the appropriate year, month, and day by browsing these highlighted buttons.
The last thing to do on the Course Overview is upload an image by selecting choose file. This image will be used for the library display. An optimal image resolution is 2:3 which roughly means it needs to be taller than it is wide so as not to distort the image.

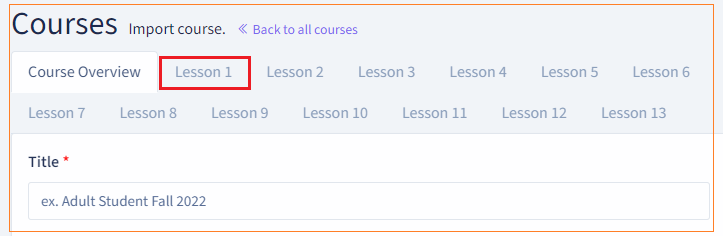
After you have completed filling out all of the course information, scroll back up to the top of the page. Click through each individual lesson to make sure all of the information is filled out and that is is correct.
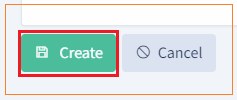
Sometimes the lessons or devotionals will not be generated correctly, so proofreading is very important to make sure it is presented correctly. Devotionals are even more prone to errors due to the amount of material being added. Pay special attention to the end of each lesson, especially the end of the last lesson. Extra text will sometimes show up there.Once you have completed all the previous steps and are satisfied that there are no errors or typos, scroll down to the very bottom of the page and click Create.
Congratulations! You successfully uploaded a new course.
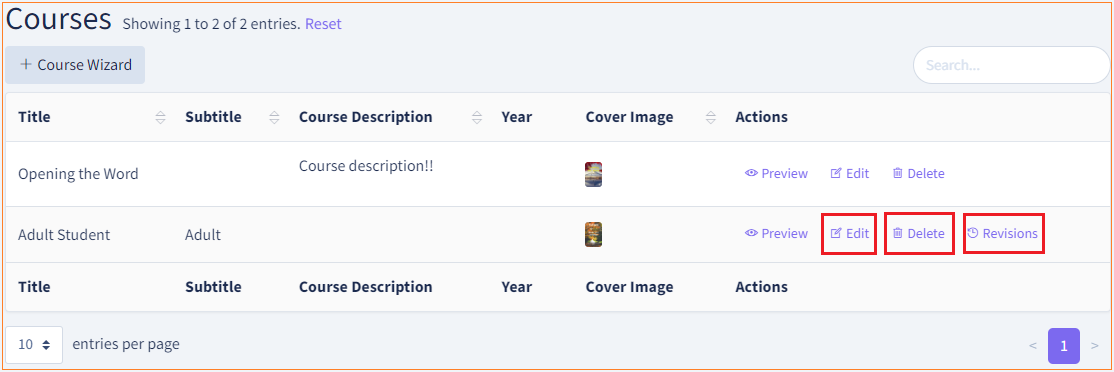
Edit a Course
If you need to edit the course after it has been created, navigate to courses from the main menu on the left, and then select edit on the desired course. You can also delete an entire course or see when previous revisions occured and undo them if you so desire.