Customers
All current customers are listed on the customers page which can be found by using the menu on the left and selecting customers.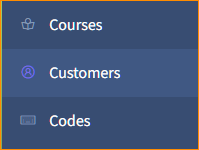
From here you can see each customer, their email address, and how many specific codes they have (not how many code uses they have).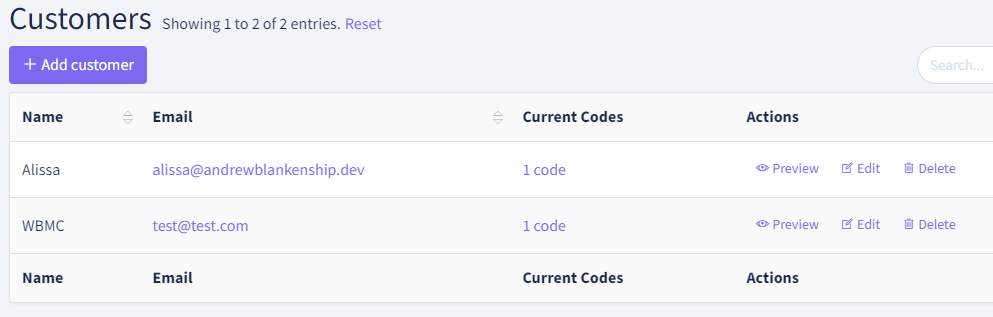
Add a Customer
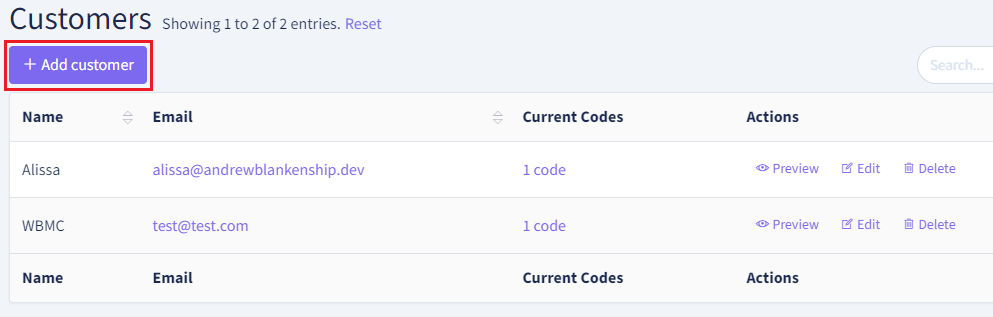
Navigate to the customers page using the menu on the left.
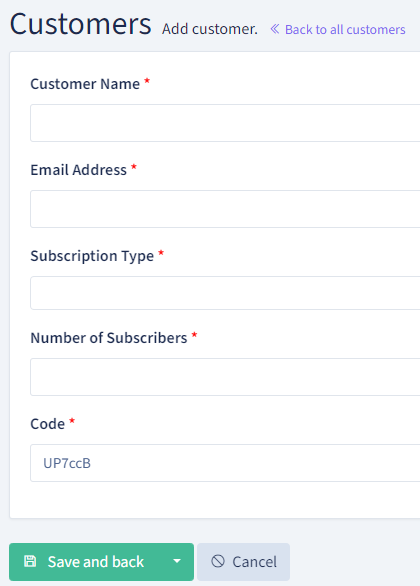
Click the add customer button.
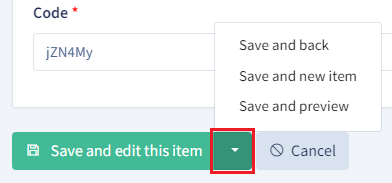
Enter the customer’s name and email address. The email address is the one they will receive notifications at when their code has reached the max number of users. The subscription type is Adult Student, Open Word Devotional, or both if applicable. The number of subscribers is how many people can sign up using that customer’s specific group code. A code will auto-generate for you, but you can create your own as long as it has at least 6 characters. Note that codes are case-sensitive.
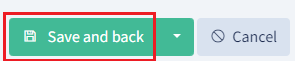
Now click Save and back and you are finished! Don’t forget to e-mail your customer their code and how to use it.
Edit a Customer
From the main customer page, you can find the option to edit a customer’s name, email address, and subscriptions or delete a customer entirely. You cannot, however, edit the code itself from this page. For that, you need to navigate to the codes page.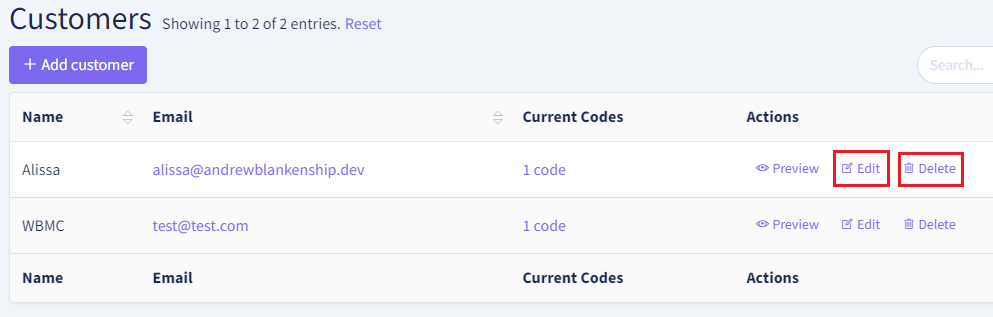
Save Options
There are multiple save options with “Save and back” being the default save option. “Save and new item” would be the only other save option you might want to use if you are inputting multiple customers in a row. Just be aware that choosing a different save option other than the default “Save and back” may change the default to your most recent selection (pictured below). If you can’t find the correct save option, simply select the green arrow to see all the save options.